ProjectSight Mobile
Take ProjectSight's cloud-based construction project management software with you in the field on your phone or tablet.


Create a project
A project contains the records and files related to your construction project.
Goal: Create a new project
- Log in to ProjectSight with your Trimble ID.
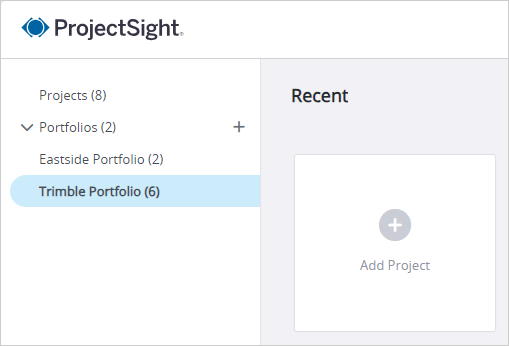
- On the project selection page, select the portfolio where you will create the project.
- Select the Add Project tile.
- On the Create Project dialog box, enter your project name in the Name field.
- Enter your project number, which is a combination of the prefix, sequence and suffix.
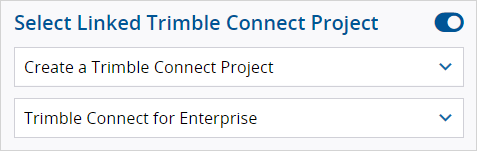
- Link the project to a Trimble Connect project.
- Turn on the Selected Linked Trimble Connect Project toggle.
- Select the Trimble Connect project, or create a new project.
- If you create a new project, select the Trimble Connect for Enterprise subscription.
- Select Create.
Your project name cannot contain these special characters: /;*?"<>|
The list only contains unlinked projects.
Congratulations on your first project!
Before inviting users to your project, create security roles for your users.
Administrators: Ready to create security roles?
Next Steps