Collaborate with drawings
Explore the Drawings module, which allows field teams, subcontractors and owners to share drawings. When you're ready to upload and publish drawings, follow the steps below.
Create a drawing set
A drawing set groups drawings together. You need to first create a drawing set and upload drawings (.pdf files) into the drawing set.
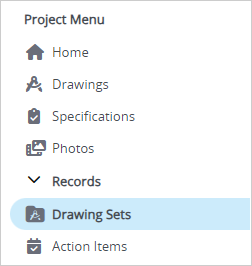
- In the Records section of the project menu, select Drawing Sets.
- On the navigation toolbar, select Add.
- In the new drawing set, upload the first drawing, which must be a .pdf file.
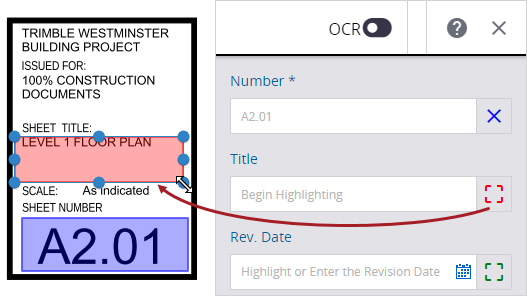
- Define the title block regions for the drawing details.
- Upload more drawings into the drawing set.
- Enter the drawing set name, and then save the drawing set.
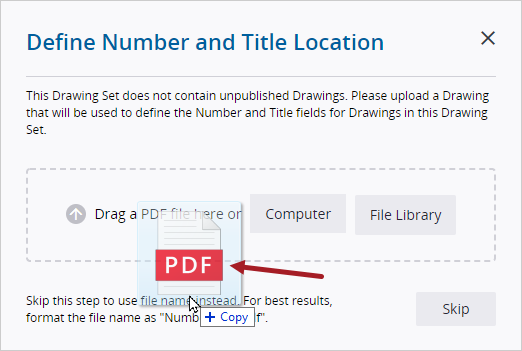
The drawing details are taken from the same regions for each drawing that's uploaded into this drawing set.

Publish approved drawings
When the drawings are ready, you can publish them so that your team members can open them in the drawing viewer.
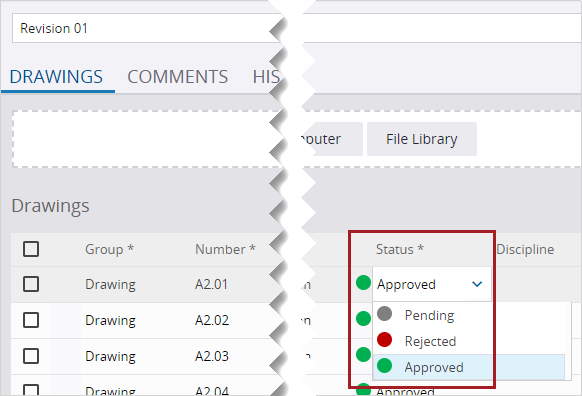
- Change the status of each drawing to Approved.
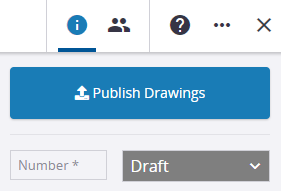
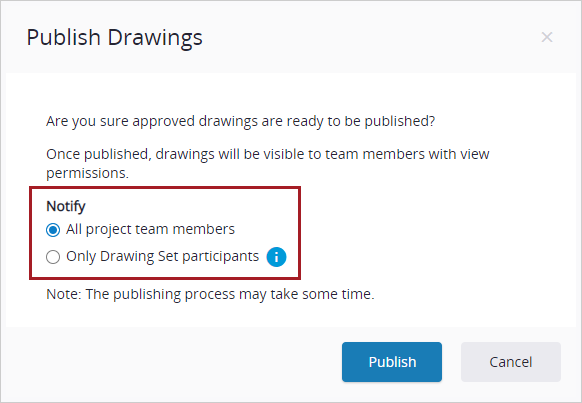
- Select Publish Drawings.
- Set the publishing notification, and then select Publish.
Add annotations to drawings
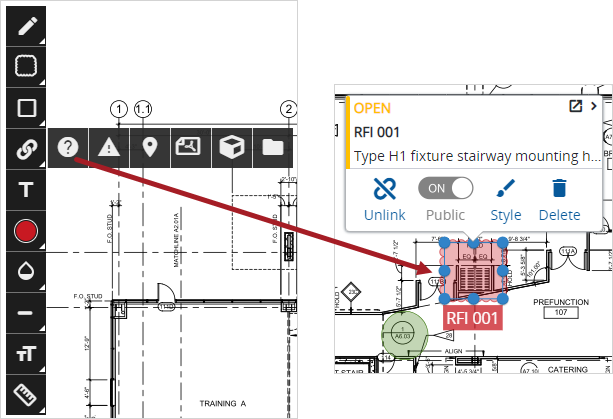
After a drawing is published, you can add annotations and link them to items such as records, models, and other drawings.
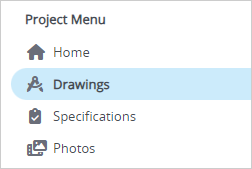
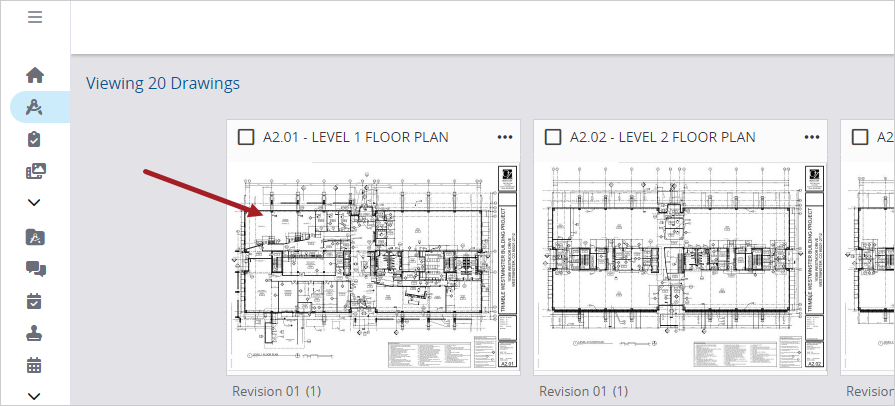
- From the navigation menu, open the Drawings view.
- Select the drawing.
- Add annotations and link them to records and other items.
