![]() Search tips
Search tips
- To search in a subset of topics, select
 in the search field and select a filter.
 - To search for a specific word or phrase, add quotation marks around it (example: "team member") in the search field.
- To remove highlighting on the search terms in a topic, select
 .
. - To search within a topic, select
 , press Ctrl+F, and enter the search term.
ProjectSight Mobile
Take ProjectSight's cloud-based construction project management software with you in the field on your phone or tablet.


Upload your photos
You can upload and view photos of your construction projects. In the Photos module, the photos are displayed in the following places:
- Photos area: Displays all project photos, including photos that are added to albums and those that are linked to records.
- Albums: Displays photos that are added to albums.
Goal: Upload a photo.
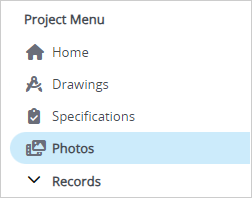
- In the project menu, select Photos.
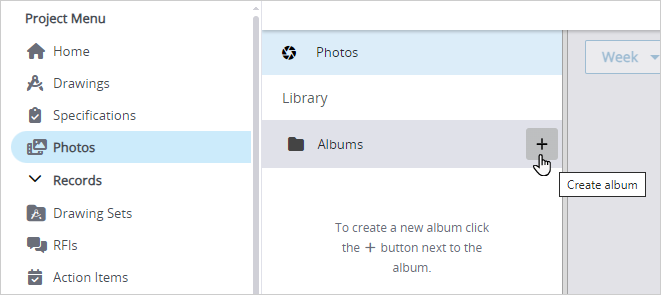
- In the albums panel, hover Albums, select
 (Create), enter a unique album name, and then select Create.
 - In the albums panel, select your new album.
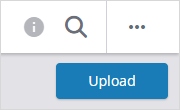
- Select Upload on the top-right side.
- Drag the photos to the upload area, or select Browse to choose the photos.
- To edit the description or location, select the checkbox for one or more photos, then edit the Location or Description field.
- Select Save.

You created an album and uploaded a photo into it!