ProjectSight Mobile
Take ProjectSight's cloud-based construction project management software with you in the field on your phone or tablet.


Collaborate with photos
You can upload and view photos of your construction projects. In the Photos module, the photos are displayed in the following places:
- Photos area: Displays all project photos, including photos that are added to albums and those that are linked to records, drawings, and specifications.
- Albums: Displays photos that are added to albums.
Create an album
You can organize your photos in albums.
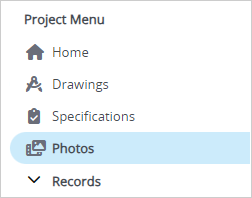
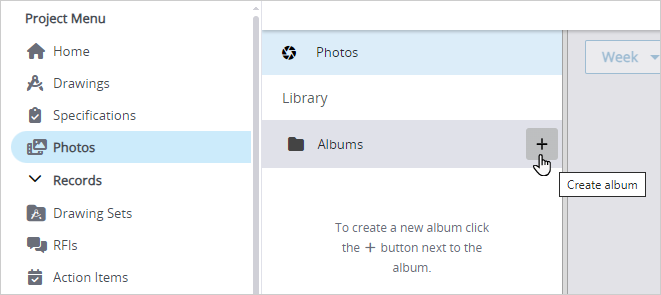
- In the project menu, select Photos.
- In the albums panel, hover over an album, and then select
 (Create).
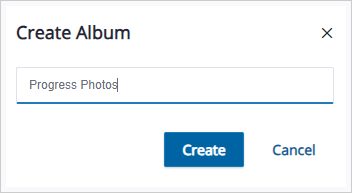
 - Enter a unique name, and then select Create.
Set album permissions
You can set permissions on your albums to restrict access to its photos.
The following permissions are available:
- Manager: Edit the album and permissions, create child albums, upload photos, move photos to the album, and edit and delete all photos.
- Contributor: Upload photos, move photos to the album, and edit and delete your own photos.
- Viewer: View the album and all photos in the album.
- No Access: No access to the album unless you are a specific user or a member of a role with access.
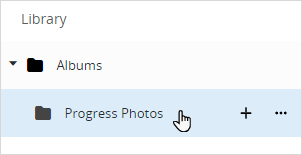
- In the albums panel, select the album.
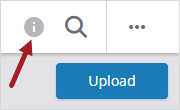
- On the toolbar, select
 (Information).
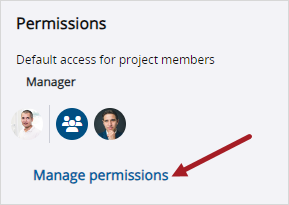
 - In the Permissions section of the Information panel, select Manage permissions.
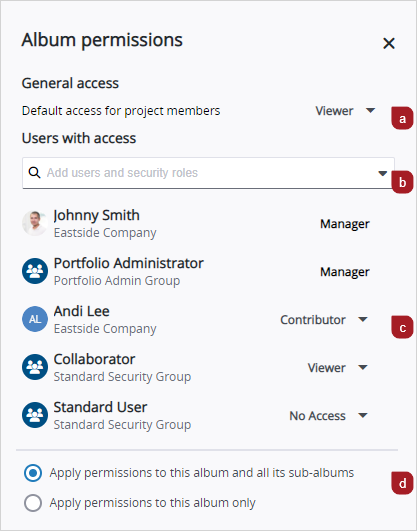
- In the Album permissions dialog:
- Change the default album permission for users with access to this project.
- Add users and security roles that will have custom album permissions.
- Select the album permission for each user and security role.
- Select where the album permissions are applied.
- Select Save.
Upload photos
You can upload photos in the Photos area or in an album.
If you upload a photo in the Photos area, you can't move it to an album later.
- In the Photos area or in an album, select Upload on the top-right side.
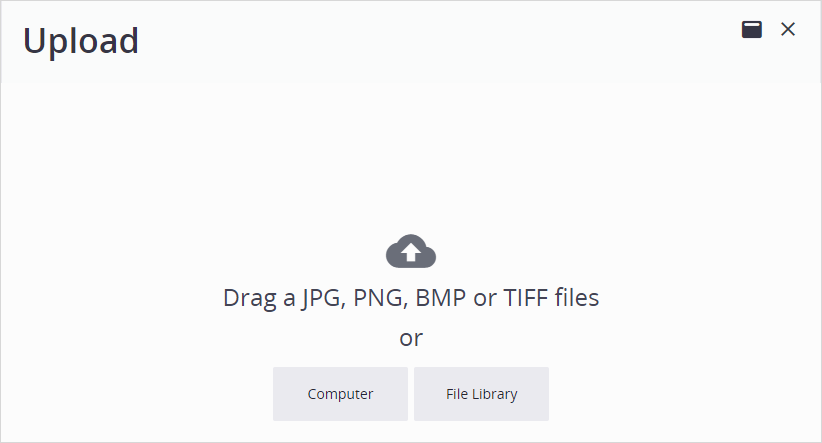
- Select Computer, and then select a photo.
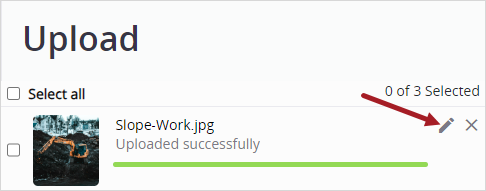
- To edit the file name of a photo, select
 (Edit), and then edit the file name.
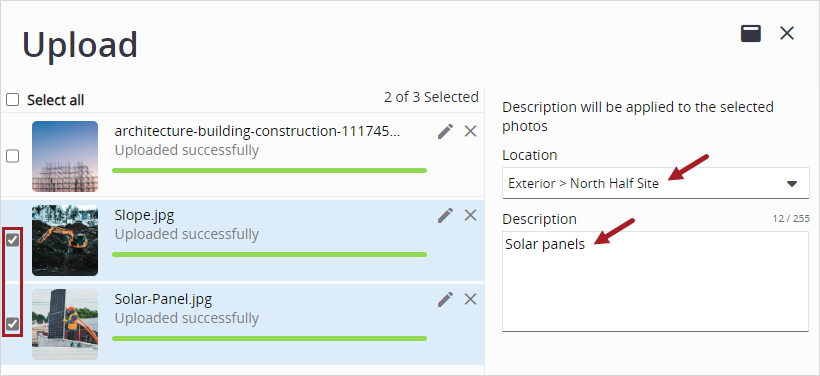
 - To edit the description or location, select the checkbox for one or more photos, then edit the Location or Description field.
- Select Save.
—Or—
Select File Library, and then select a photo.
—Or—
Drag a photo to the dialog.
The previous location or description is overwritten when you select the same photo again and edit the field.
Edit photos
After your photos are uploaded, you can edit their details or move them to different album.
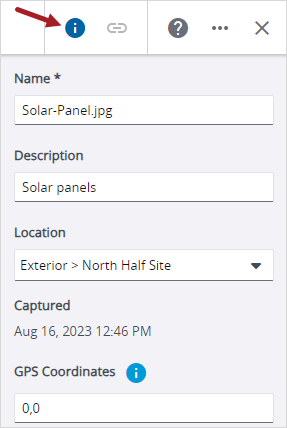
- To open the photo in the photo viewer, select the photo in the album.
- In the Information panel, edit the details.
- To rotate the photo, select the
 (Rotate Counterclockwise) or
  (Rotate Clockwise) button in the photo viewer.
 - On the toolbar, select Done.
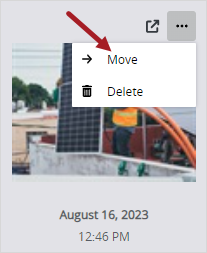
- To move the photo to another album:
- In the album, hover over the photo, and then select
 (More) > Move.
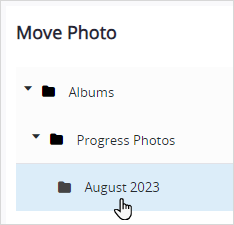
 - Select the new parent album, and then select Move.